[members]
You are currently logged in and can continue to the Website Tutorials
If you are somewhat familiar with these systems, you can jump straight to the tutorials
WooCommerce | TablePress | NextGEN Gallery | ABASE
[/members]
[nonmembers]
You are not currently logged in but you will need to login to be able to view the Website Tutorials
[/nonmembers]
[members]
Website Tutorials for Tank Master
The following tutorials aim to help you manage the Tank Master website.
Outline of systems used on the website
Tank Master currently uses four systems to show products, therefore there are four different systems for editing prices.
- WooCommerce - This is one of the most widely used eCommerce systems used around the world. It is the new system Tank Master is using and eventually ALL products will be in this system.
- TablePress - This is a temporary system used for quick fixes.
- NextGEN Gallery - This system is used to show products like Pumps and Reels etc.
- ABASE - This is the original system. Unfortunately the plugin developers no longer support this plugin, therefore all products need to be moved to a different system.
To use the above systems (except ABASE), you will need to be logged in to the website "back-end" (https://tankmaster.com.au/wp-admin - This will open in a new window so you can still follow these tutorials)
[/members]
[members]
WooCommerce Tutorial
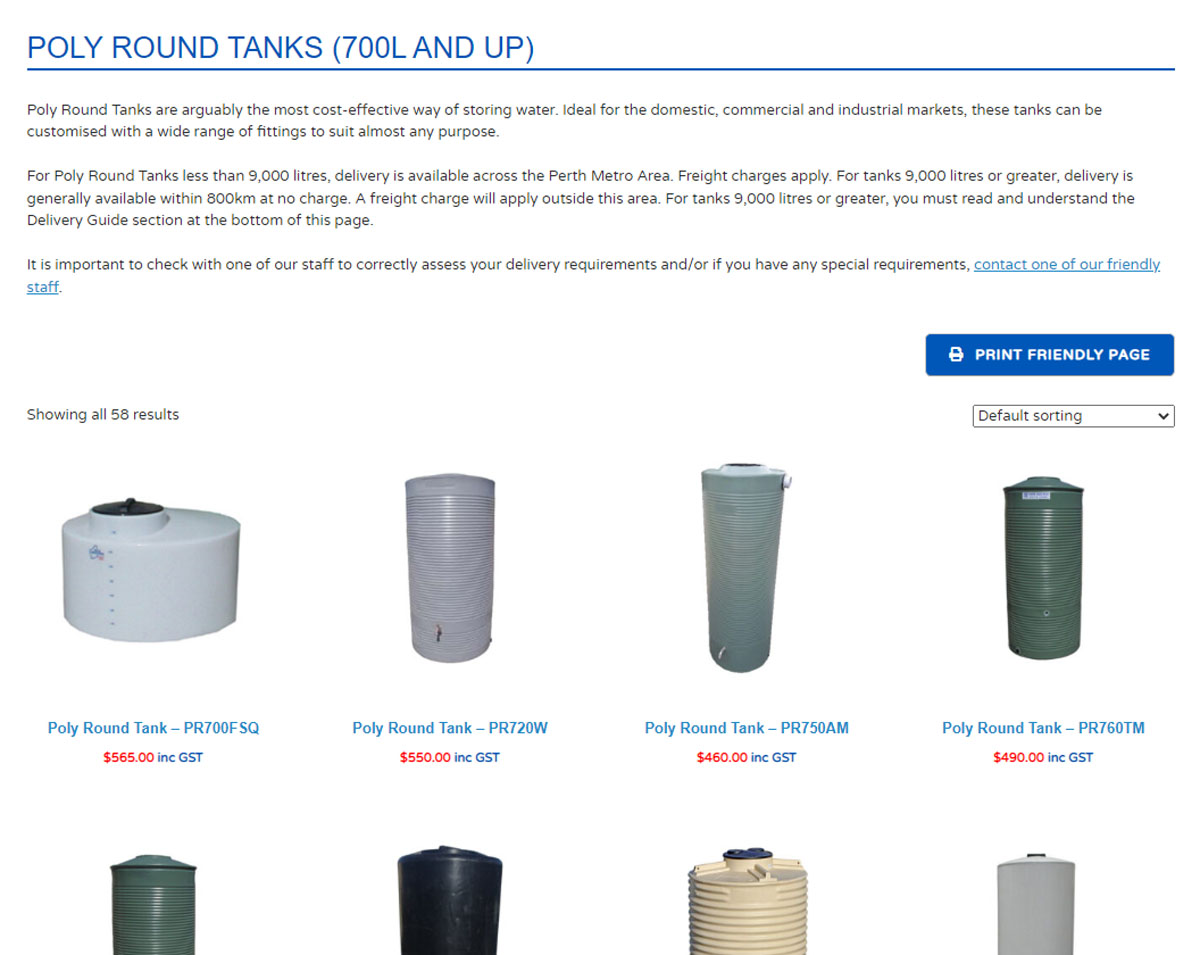
WooCommerce products look like this on the website "front-end". Note the layout of the products in a grid pattern
- If you haven't already done so, you will need to open the "Admin" area of the website (https://tankmaster.com.au/wp-admin - This will open in a new window so you can still follow this tutorial)
- In the "Admin" area, hover your mouse over "Products" on the Admin menu (on the left of the screen), then click on "All Products"
- Once the products have loaded you have the option of filtering the list to only show the product category you want to edit:
- To do this, at the top of the product list, locate the drop-down box labelled "Select a category" and choose the category you want to edit (e.g. "Poly Under Eave Tanks (18)") then click the "Filter" button at the end of the row of drop-down boxes. The page will now reload with just the products from your selected category.
- There are two main ways to edit products in the list, "Quick Edit" and "Edit". Both methods are accessed by hovering your mouse over a product then choosing the option you want from the links that appear under the product title.
Quick Edit
- The quickest way to edit prices is to use the "Quick Edit" option. Simply hover your mouse over the product you want to edit then choose "Quick Edit". The product information will then appear. You can then edit all the product information allowable in the "Quick Edit" mode (some but not all product information). For more in-depth editing, choose the "Edit" mode..
- Locate the information you want to edit (e.g. Product Title, Price or Sale Price).
- Once you have finished making changes, click "Update" at the bottom of the product information window.
Edit
- More in-depth editing of a product can be done by choosing the "Edit" option. Simply hover your mouse over the product you want to edit then choose "Edit" or simply click on the product title. The single product page will then load.
- ALL the information for the product is on this page. Short Description, Long Description, Product Image, Product Image Gallery (for adding additional image to a single product) Price, Sale Price, SEO Information etc.
- When you have finished making changes, click on the "Update" button located on the right of the screen near the top of the page.
- Top open a different product, simply click "Products" and repeat the process...!
Delete
To delete a product, simply hover your mouse over the product title and choose "Trash" from the links that appear. This will send the product to the trash but it will still be recoverable if you deleted it by mistake.
This tutorial will be expanded at a later date when most of the products are in the WooCommerce system. Most of the changes you will need to make in the short term (e.g. Price and Sale Price) can be done in the "Quick Edit" mode.
[/members]
[members]
TablePress Tutorial
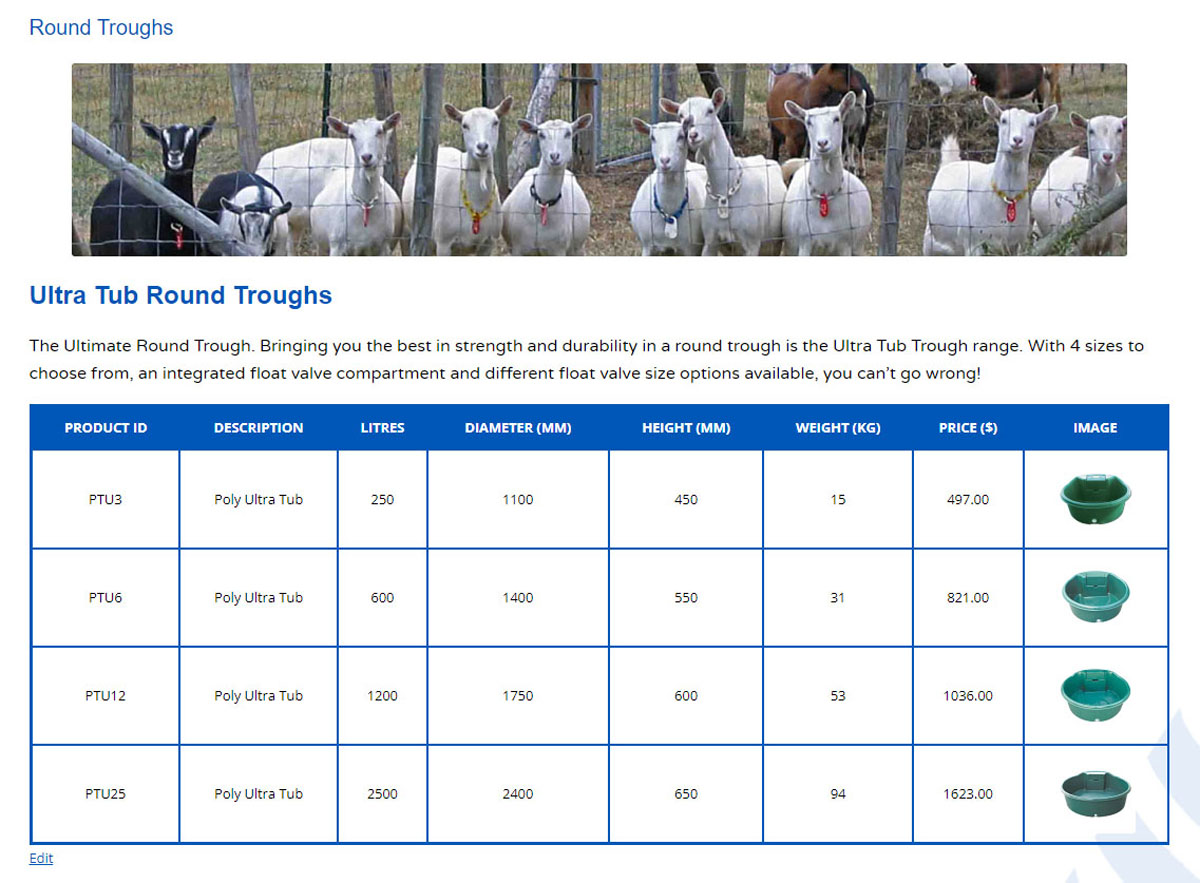
TablePress product tables look like this on the website "front-end". Note the Blue Border and Header row.
- If you haven't already done so, you will need to open the "Admin" area of the website (https://tankmaster.com.au/wp-admin - This will open in a new window so you can still follow this tutorial)
- In the "Admin" area, hover your mouse over "TablePress" on the Admin menu (on the left of the screen), then click on "All Tables"
- The TablePress tables list will then appear.
- Scroll through the list until you find the product range you want to edit, then can either click on the title (i.e. Fire Fighting - Pumps - Other Brands), or hover your mouse over the title, then click "Edit"
- Make all the changes you need to, then scroll to the top or bottom of the page and click on the "Save Changes" button.
- You can then go to the "front-end" of the website, navigate to the product range you just edited and refresh the page.
IMPORTANT NOTE
While you can, in theory, edit the images in the table, the table cell uses some custom code to display the image. It is not a good idea to edit this code unless you are familiar with HTML (e.g. <img src="https://tankmaster.com.au/wp-content/uploads/XG10-300x200.png" alt="" width="75" height="50" class="aligncenter size-medium wp-image-36761" />)
[/members]
[members]
NextGEN Gallery Tutorial
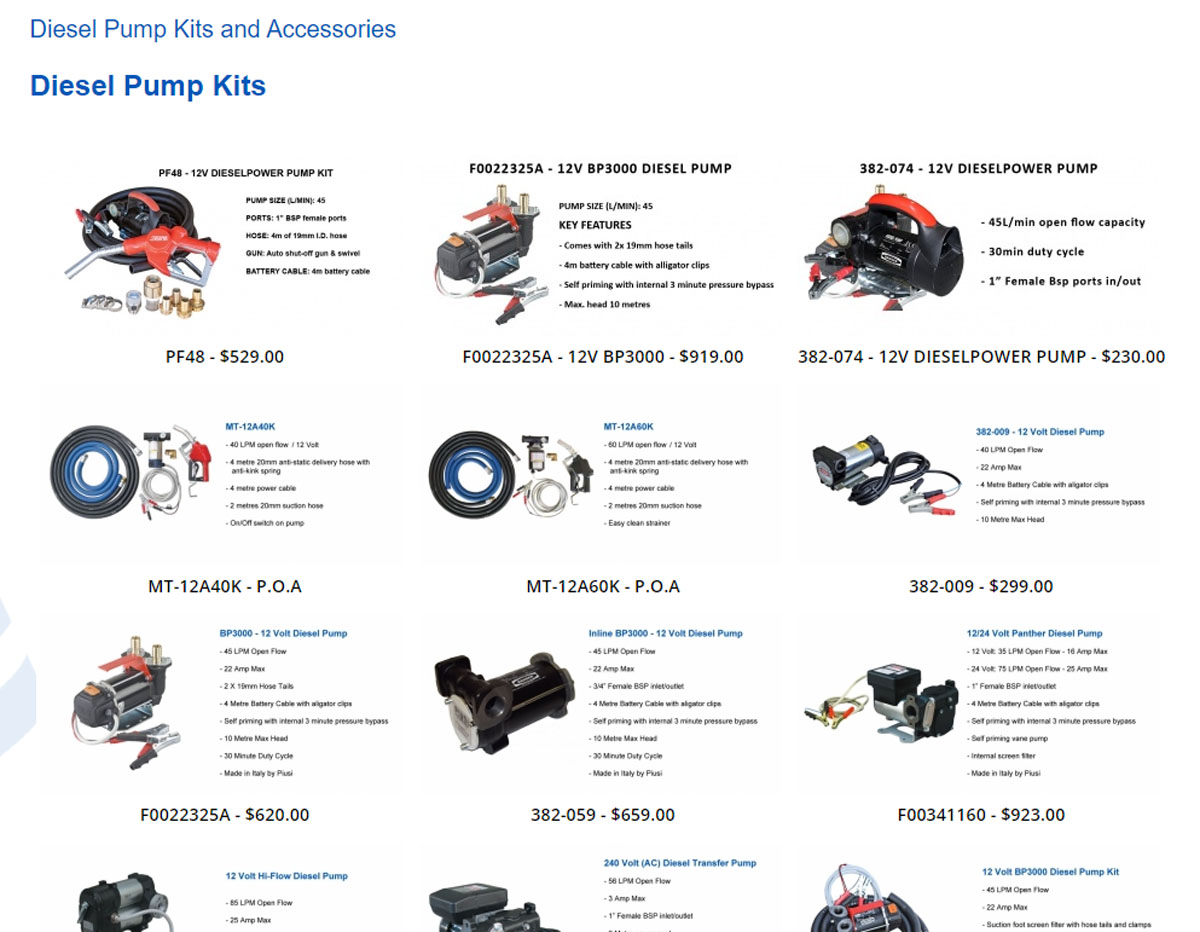
NextGEN Gallery products look like this on the website "front-end". Note the layout of the products in a grid pattern.
To Edit A Product
- If you haven't already done so, you will need to open the "Admin" area of the website (https://tankmaster.com.au/wp-admin - This will open in a new window so you can still follow this tutorial)
- In the "Admin" area, hover your mouse over "NextGEN Gallery" on the Admin menu (on the left of the screen), then click on "Manage Galleries"
You can also Delete or Add products in a NextGEN Gallery
To Delete A Product
- Hover your mouse over "NextGEN Gallery" on the Admin menu (on the left of the screen), then click on "Manage Galleries"
To Add A Product
NOTE - You will need to be familiar with editing images (Photoshop or similar) in order to add images with the correct dimensions
- Hover your mouse over "NextGEN Gallery" on the Admin menu (on the left of the screen), then click on "Add Gallery / Images"
[/members]
[members]
ABASE Tutorial
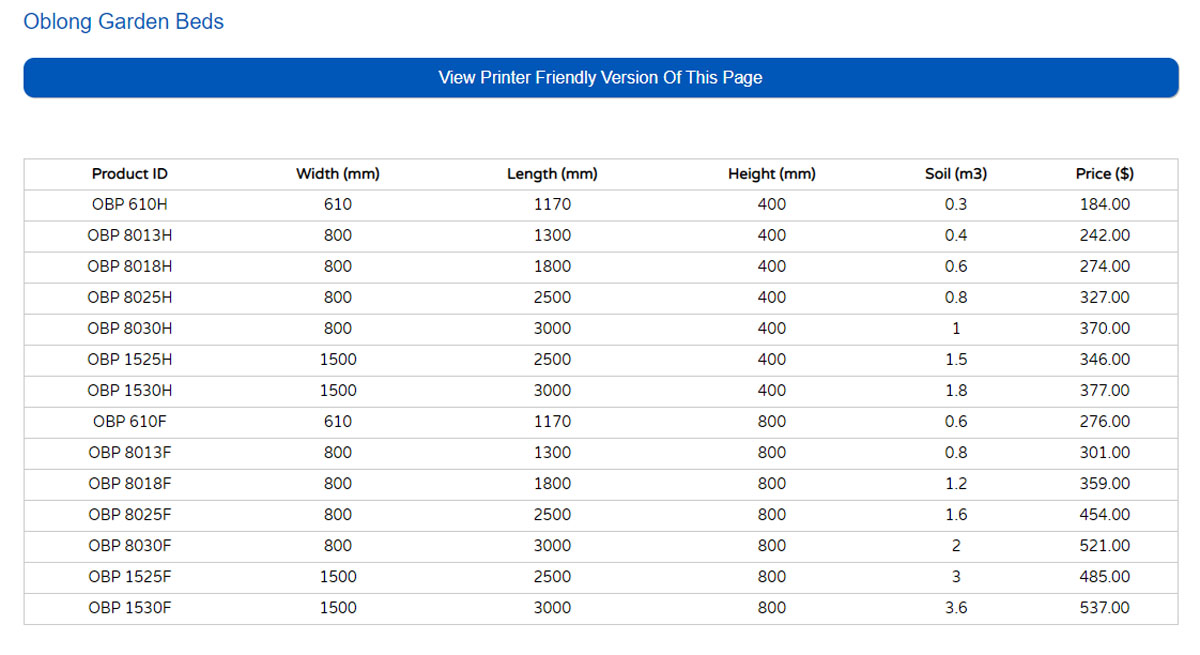
ABASE products look like this on the website "front-end". Note table header row is White with Black text and the table borders are black, different from the Blue borders and header row of the TablePress tables.
Unfortunately, ABASE products can only be edited on the server. This involves knowledge of the following:
- Logging into the Tank Master website/email server
- Navigating the server to locate the product database
- Opening phpMyAdmin and navigating through the SQL database tables as well as editing those tables.
Without the above knowledge, it is not recommended that you attempt to edit ABASE product tables, therefore there is no more to this tutorial.
[/members]


